How to dry fruit
Fruit drying is a rewarding way to preserve your summer harvest. Like many preserving techniques it is simple to do (one of the simplest) and the results are extremely satisfying. By the end of the season, your larder shelves will be adorned with shiny glass jars full of seasonal goodness and winter in your larder will feel like a giant golden ticket to your own private Willy Wonker wonderland.
What is involved in fruit drying
The objective of fruit drying is to remove as much water as possible from the fruit you have harvested, foraged or bartered.
Water is a catalyst for moulds (yeast and bacteria) to grow. In the absence of water yeasts and bacteria cannot grow. Fruit is full of water, hence your objective is to remove as much of it as possible.

How much water should I remove from fruit
This will involve trial and error. In a domestic setting, you will not have any of the sophisticated equipment used by commercial fruit drying operators that take the guesswork out of the process. And in commercial settings, an interesting thing happens that can’t be achieved at home. Some fruits are dried and then moisture is added back in, in a controlled way, to create softness and chewiness in the fruit.
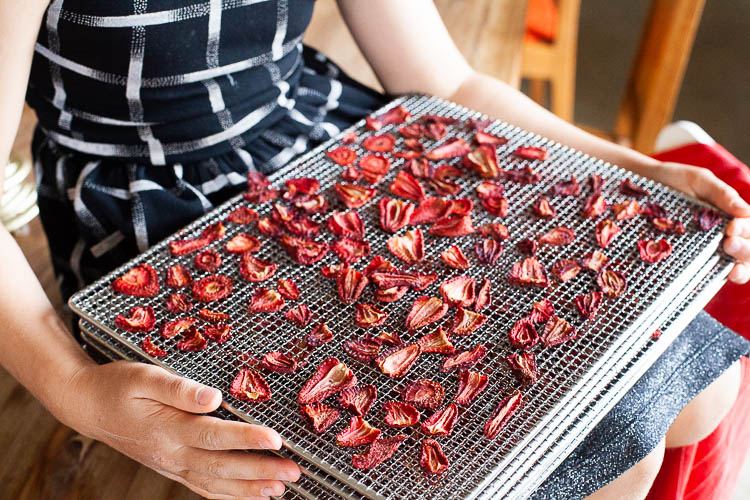
So how much water should I remove
The dryer the fruit, the longer it will last, but with that comes a compromise. Some flavour is lost if the fruit is overly dried and of course, that delicious chewy texture almost disappears.
Therefore decide how long you want to keep the fruit. Three months, six months or a year. If for only three or so months then you can afford to keep the fruit quite chewy and fleshy. If you are hoping for a year aim for very dry.
I appreciate these terms are all subjective.
You will need to experiment and take notes in your ‘dehydrating fruit, diary’.
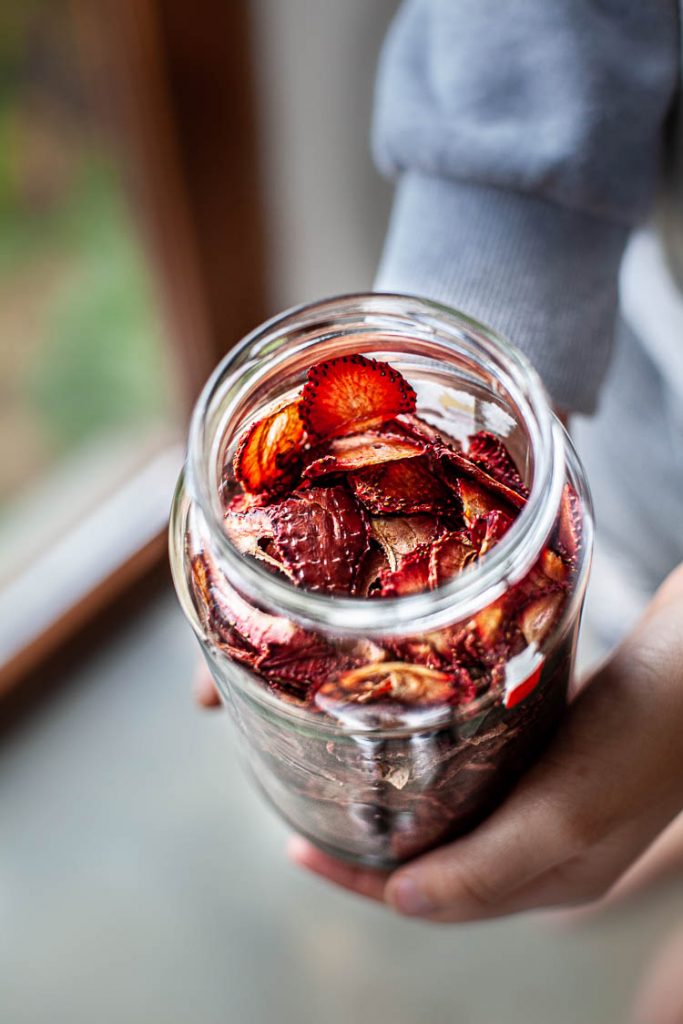
Fruit preserving diary
Take note of the size of the fruit you are drying, document the way you cut fruit in terms of thickness, the temperature you choose to dry at (there is a window of choice here) and how long you dried it for, to help you make informed choices.
You could trial the following.
Trail one: keep the fruit quite chewy and moist, add these to a jar and label the jar with the date they were stored. Then keep an eye on them to see how long they last (eat them along the way because once mould starts to form you will have to throw out your work).
Trial 2: Dry them for longer than trial one. Still leaving some moisture and chewiness to the harvest but less water than trial one.
Trail 3: Dry them completely so that they are very dry. Some of the flavour will be lost and there will be very little to no chewiness. The fruit in some cases will in fact have lost a great deal of its deliciousness, but it will last and you can use them throughout the year to make fruit breads or cakes.
Label all the jars with extensive notes about fruit size, date they were dried, how the fruit was cut, temperature and time taken to dry.
Then enjoy!

Washing your harvest and selecting the best fruit
Firm fruits such as plums, apricots, apples etc all wash well and keep their form. But some fruits such as raspberries for example, can disintegrate and break. Hence be discerning. It is not always possible to wash fruit in a domestic environment. Compost any soft fruits that look poorly or visibly dirty.

How to cut fruit
Some fruits are so small they can be left whole, while others such as large plums, apples and pears need to be cut.
Fruit can be cut in half, or quarters or eights depending on the size and fleshiness of the fruit. They can be cut round or as wedges. For example, oranges and lemons can be cut as thin translucent circles while nectarines are often quartered. Strawberries can be cut in half or quartered. The larger the pieces the longer it takes to dry them. To increase energy efficiency, if using an electric dryer, consider cutting fruit into small pieces, it’s more labour intensive but will use less power. Domestic units typically use between 250W for a small system up to 700W for a ten tray system and once the system is turned on it takes an average of 15 hours to dry most fruits.

How to position fruit
Once cut, position fruit with the flesh side facing up. With nectarine wedges, for example, place the nectarines so that the skin only is touching the drying trays.
Use acid before drying
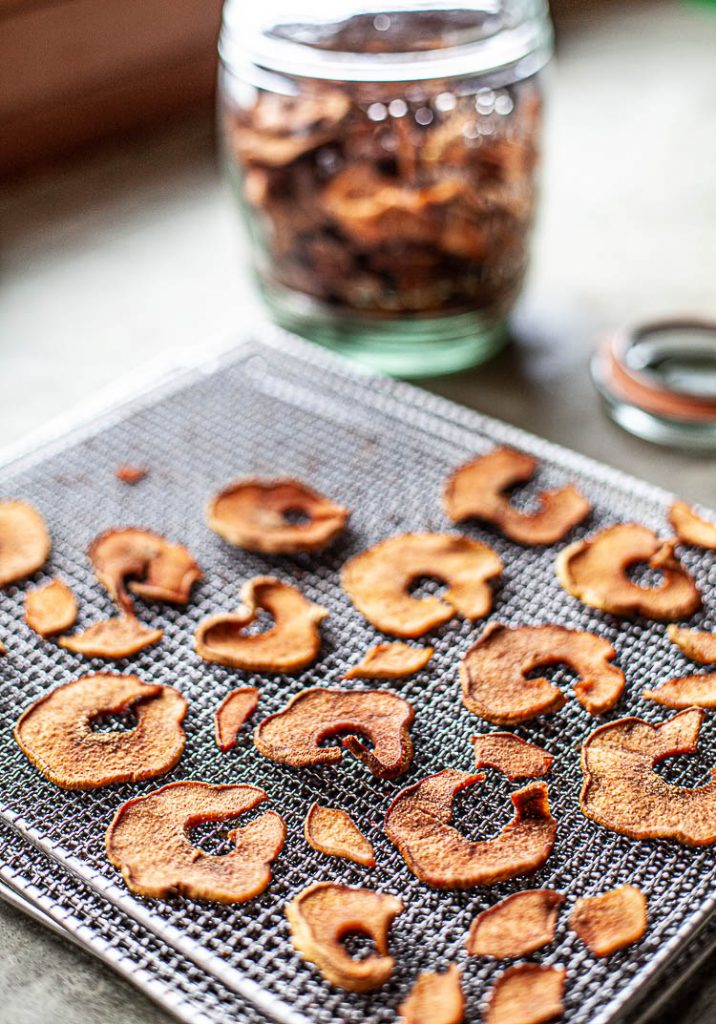
Some fruits such as pears and apples quickly brown when they are cut and hence need to be acidified. Lemon juice is the answer. Prepare a large bowl of water, squeeze enough lemon juice in the water to make it distinctly acidic. Taste it, and if you can clearly taste the lemon juice then it will do the job. As you cut fruit, place it directly into the bowl. Remove pieces as the bowl gets full to make room for additional cut fruit. Place the acidified pieces directly on drying shelves.
Why is drying fruit a great way to preserve it
Dehydrating is one of the simplest ways to preserve fruit. No need to sterilise jars (such as with jam making), no hot water bathing, no need to add sugar.
The food you dry becomes reasonably shelf-stable. In other words, it will keep in the jar at room temperature for extended periods of time (the amount of time depends on how dry you made it).

There are a range of ways to dry fruit.
You can use a solar dryer, dry fruit above a combustion stove, in the oven, on a trampoline, by using an electric dehydrator, by placing trays of food on a rooftop, car bonnet, beneath a skylight, or on a car dashboard.
What all these methods have in common is an aerated space, combined with adequate and consistent heat and a quick-drying turnaround.
A brief explanation of the various ways you can dry fruit
Solar dryers are extremely wonderful because they use no energy. They are designed to draw air in by way of convection. They have a glass panel, a set of trays and a chimney to allow hot moist air to escape. They rely however on warm sunny days to work. Daytime temperatures need to reach around 30C for the temperature inside the solar dryer to get to a desirable 50C. Most solar dryers are DIY projects and you can make them as small or as large as you like at little expense.
Combustion stoves are used by some people all year round. By placing racks around the flew with a safe clear distance, preventing the racks from touching any hot combustion stove surfaces, it is possible to dry fruit in this way.
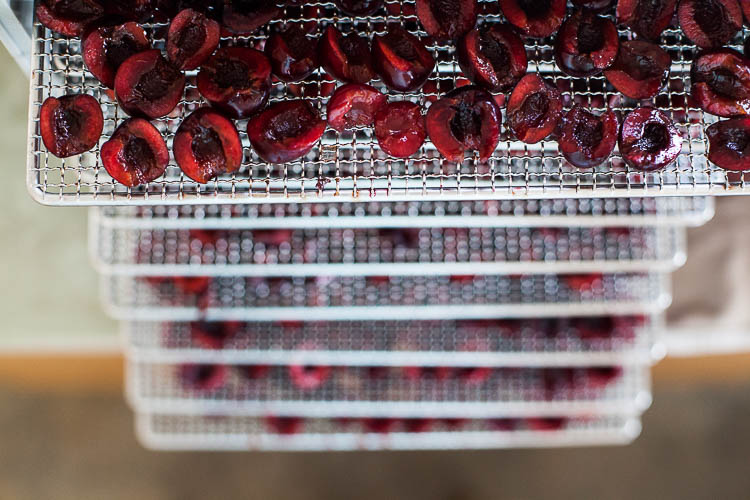
Dehydrators on the other hand use electricity to create a constant warm environment. They allow you to set the temperature and time and do not rely on a warm sunny day to work (unless they are operated by a solar system!). They are particularly useful in cool temperate climates where daytime temperatures can vary greatly from one day to another, making it sometimes difficult to effectively dry fruit in one sitting.
Car bonnets on a 30C day can get very hot as well as car dashboards. If placing on a car bonnet make sure it’s not a windy day. If placed on the dashboard, leave the windows open so that warm moist air can escape.

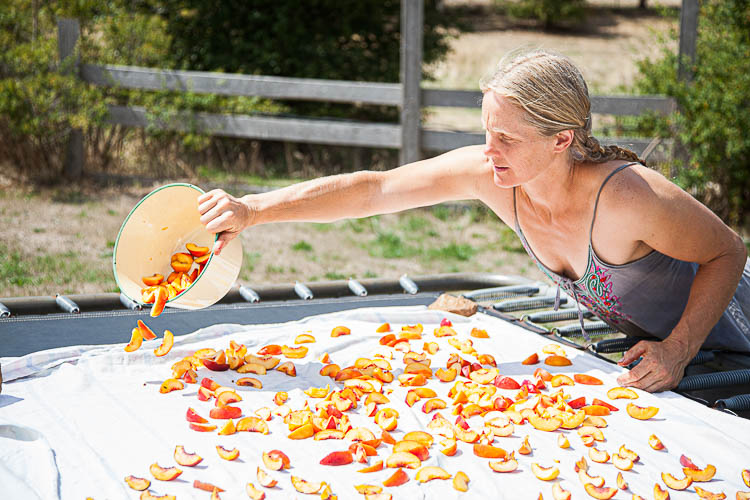
Trampolines are fantastic too. Their large surface area allows you to dry a great deal of fruit easily. Place a clean sheet on the trampoline surface, check the weather forecast for wind and rain and pets that might be attracted to the available food being dried. Leave and come back in 8 hours or so to see how it is going.

Skylights and clear roofed verandas make great fruit drying spaces too. DIY some large frames with flywire and a pulley system to allow you to easily position frames just beneath the roof surface.

Your oven. Set the temperature to 60C. Place fruit in perforated oven trays or racks, as you need airflow through the trays/racks. Leave the oven door slightly ajar if using an old unvented oven. Leave the door closed if your oven is designed to let moist air out. If you are not sure about your oven design you can easily work it out. Turn the oven on and then place your hand in front of the oven door, feel for a clear stream of warm air escaping, usually from the top of the oven door.

When drying fruit you need to consider the following
- Keep an eye on the fruit you are drying as you can easily over dry it or even burn it. Solar dryers can get extremely hot.
- The ideal temperature for drying is between 50-60C.
- The average amount of time needed to dry fruit is around 15 hours. Often longer.
- If you live in a climate with cool nights, be sure to bring the fruit indoors to prevent condensation from settling on fruit. Place trays back outdoors as soon as it is warm again.
- If you live in a temperamental climate with four seasons in one day it can be very hard to dry fruit quickly enough to achieve good results. You want to be able to dry fruit in 24 hours, or you will risk the onset of mould.
- If you live at a windy sight be aware that it can all be blown off, if you are drying outdoors.
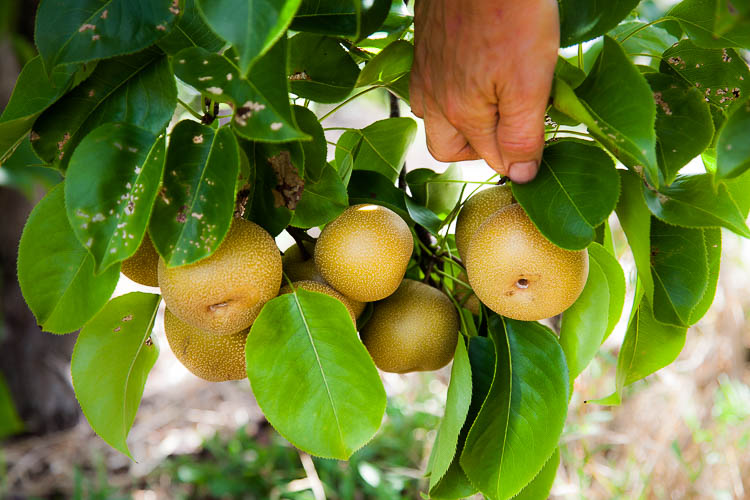
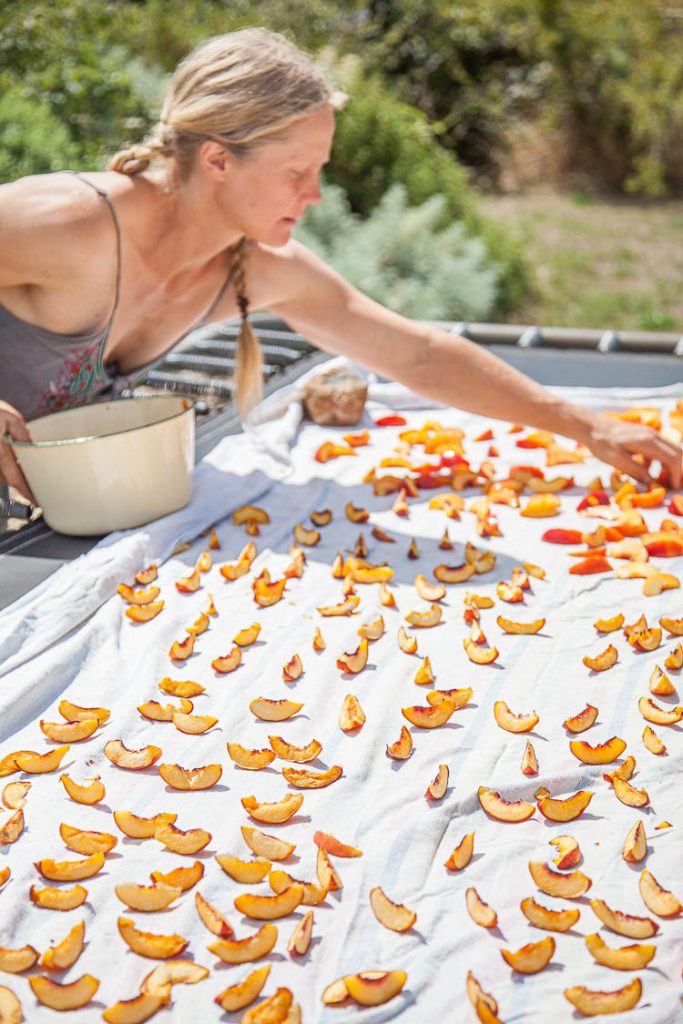
Drying fruit is an easy skill to acquire giving you the freedom to harvest from your garden or forage from wild trees. It makes every summer outing turn into a fantastic adventure as a stumbled upon fruit tree becomes a winter delicacy.

0 Comments